Three things keep newer editors up at night: death, taxes, and keyframe interpolation. Those little diamond shapes in the interface are intimidating enough, but, wait! Why does my keyframe suddenly look like an hourglass? Why are my motion paths curving when I want a straight line? What’s going on!?
Changing keyframe interpolation is all about changing how a clip gets from value A to value B - that is, how fast and what path it takes to get there. You most often will encounter temporal interpolation on most keyframeable parameters, which affects how fast a clip moves, but with the Position parameter, you will also see spatial interpolation.
Temporal Interpolation
Let’s start simple. Premiere defaults to creating linear keyframes for the speed a clip changes parameter values. You can more or less replace the word “linear” with “constant.” If you have a clip move from position A to position B, it will take off at and maintain the same speed from the first frame of the animation to the last.
You can see this by clicking on the often overlooked disclosure triangle next to any keyframes parameter. This brings up the speed graph in Premiere. It’s a little primitive compared to After Effects’ graph, but it’s better than nothing at all. Let’s say we have a simple keyframe scenario where we have a clip move from the left to the right side of the screen (click here for a sample file). If we hover the mouse anywhere over the flat line between two position key frames, it gives us the rate/speed at which our clip is moving.

This might looks good once in a while, but it doesn’t match real world motion particularly well. Generally speaking, things pick up speed as they move and slow down as they reach their end destination. This is where changing the interpolation comes in.
Ease In and Ease Out
If we right click on the first keyframe, we see a submenu for Temporal Interpolation. Don’t be scared off by the Star Trek-sounding language. If you select Ease Out, you’ll see the straight line of your speed graph change into a curve. Similarly, right click on the second keyframe and select Temporal Interpolation -> Ease In. You’ll also notice the icon used to represent the keyframe changes from a diamond to an hour glass.

If your brain feels like something is off, it’s because most editors would assume we apply “Ease In” first and then “Ease Out” to the second keyframe. We think this way because of our familiarity with In and Out points on video, where In comes first, but this is something totally different and mutually exclusive.
Picture you’re in a parking lot about to head home from the store. When you turn on your car, you put your foot on the accelerator and ease out of the parking spot. You ramp up to normal driving speed and when you get home, you pull into your driveway and ease in to it.
Bezier Handles
One thing that can be a bit confusing is that if you right click one of your keyframes again and look at the Temporal Interpolation settings once more, you won’t see Ease in or East Out checkmarked, but rather Bezier. You can sort of think of Ease In and Ease Out as presets for a Bezier, or curved, interpolation. Bezier is a custom setting which gives you full manual control over the exact acceleration and/or deceleration you want to apply to your parameter’s keyframes.
If you left click one of your keyframes, you will see a little blue handle extend from the now curved speed graph. You can grab onto that bezier handle and manually adjust the curve which will alter the clip’s acceleration or deceleration. For example, if I wanted my clip to shoot off to the right like it was coming out of a gun, starting super fast and ending slower, I would use the bezier handles to create a curve like this:
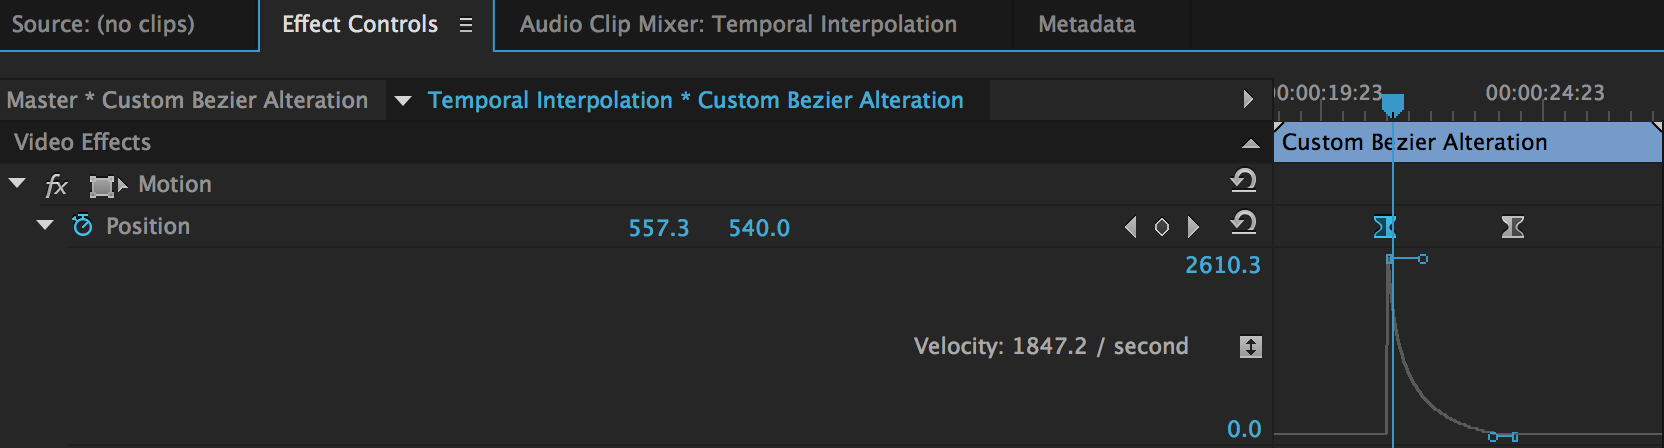
The higher the curve, the faster the movement. Because we’ve created an exponential curve that starts off very high on the left and quickly slopes downward, our clip starts very fast and then decelerates as it approaches its final destination.
Spatial Interpolation and Auto and Continuous Bezier
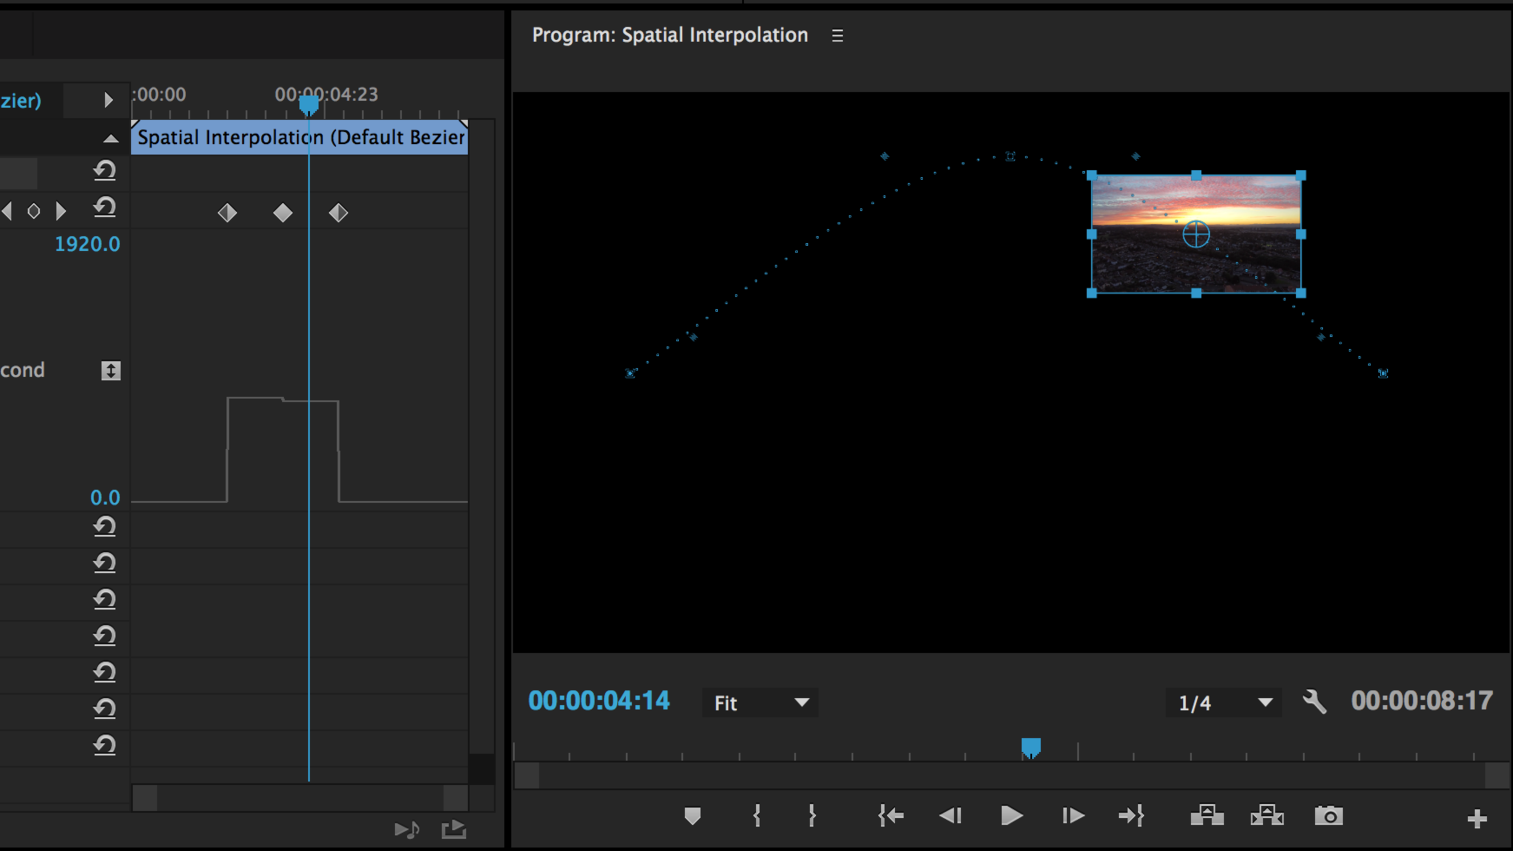
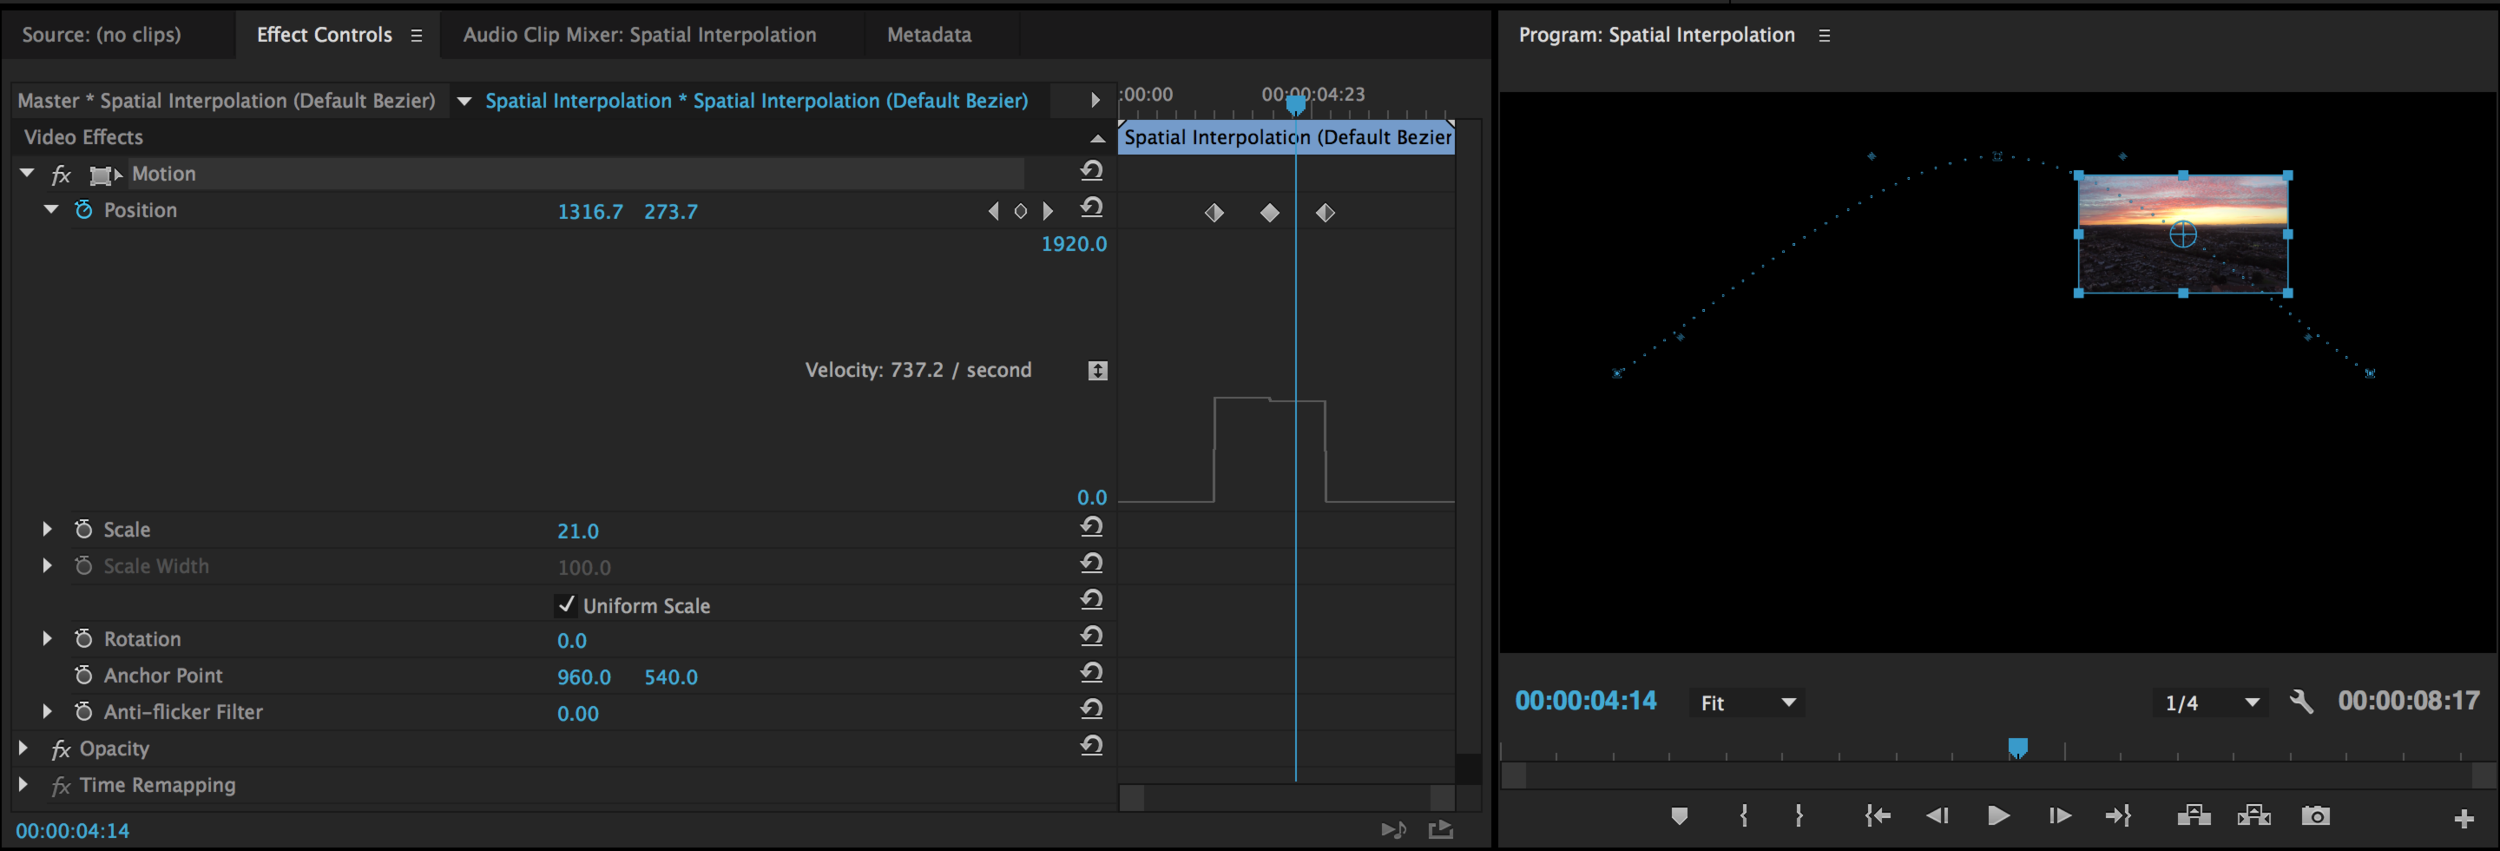
Spatial Interpolation most typically affects the path a clip takes from location A to Location B. Because of it’s nature, you’ll typically only see it reserved for the Position parameter.
If I created a simple animation with three Position keyframes where a clip starts on the left side of the screen and bounces off the roof of the frame and then angles down toward the right, you might expect it to create a sort of pyramid shape to its path, with a nice point at the top. But if you double click the clip in the Program Monitor to reveal its motion path, you will see the path of the shape is curved.
This is because Premiere Pro defaults to Bezier for its Spatial Interpolation (you may also see Bezier handles, but ignore that for a moment, we’ll come back to then). If you right click on the middle keyframe in the Effect Controls panel, and select Spatial Interpolation -> Linear, you will see your motion path become straight lines, giving you more of a Pong look to the animation (you’ll get it when you see it).

Selecting Continuous Bezier from the Spatial Interpolation menu gives you bezier handles in the Program Monitor, not to be confused with the bezier handles for temporal interpolation found in the Effects Controls panel (double click the clip if you don’t see your motion path). The bezier handles can be a bit hard to spot sometimes. If you don’t see blue lines extending from your keyframes in the Program Monitor, look for blue dots seemingly floating in space which are the ends of your invisible bezier handle lines (intuitive, right?). You can bend and twist the physical path the clip takes.

Selecting Auto Bezier is sort of like a “reset” button that will give you a smooth, natural curve to the path again if you altered it. And select Bezier once more after distorting a path will let you customize the curve of one side of the path, rather than both sides as happens with Continuous Bezier.

You can also apply Auto and Continuous Bezier to temporal interpolation and work with the speed curves similarly in the Effect Controls panel. Your keyframes will change from diamonds to circles.
Hold Keyframes
Last but not least is the hold keyframe. A hold keyframe is likely the simplest of all to understand because its definition is right in its name - a hold keyframe holds its value all the way until the next keyframe when it simply jumps to the value of the second keyframe. As a simple example, consider Position keyframes once more. It allows you to have a clip pop around from one spot on the screen to another and to another and so on. There is no motion path because it basically teleports from location A to location B. The only confusing thing is that the Hold keyframe option is found back under Temporal Interpolation, rather than Spatial. Turning a keyframe into a Hold keyframe will change the shape from a diamond to a half-diamond half-box shape.

Easy, right? Kidding. It takes time to get used to the options and subtle differences between some of them. Don’t obsess too much over memorizing the various keyframe shapes (unless you’re taking a certification exam, then obsess away!). Just play around and practice and you’ll be interpolating those keyframes like a boss in no time.